


 Multi-Currency Support (100+ currencies)
 VAT-Compliant Invoice for All Payments
 Bulk Payment with a Single Invoice
  Special Support for Businesses
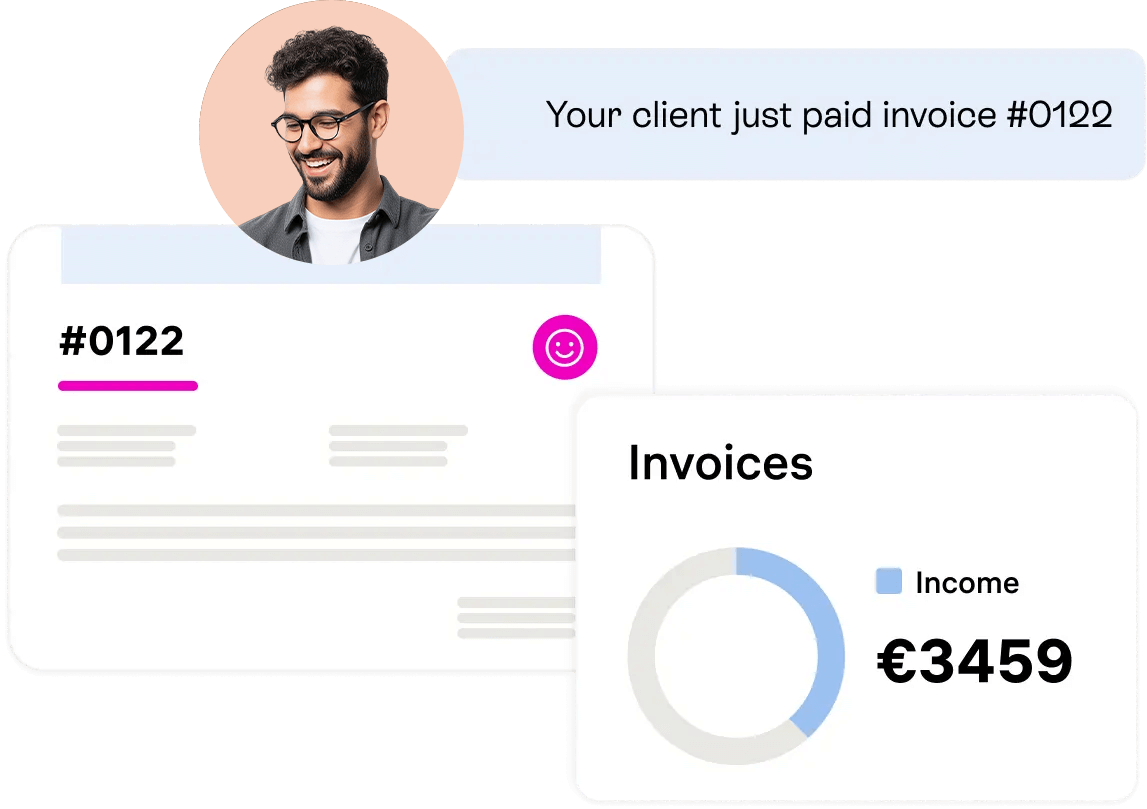
Remotify acts as a reseller, becoming your freelancer invoicing platform. We purchase services from your freelancers, resell them to you, and issue one VAT-compliant, tax-deductible invoice — removing the need to manage multiple payments or invoices.
With multi-currency invoicing in 100+ currencies and commissions starts from 2.5%, Remotify keeps cross-border payouts fast, compliant, and cost-efficient — whether you work with one freelancer or an entire team
Freelancer
Countries
Clients
Currencies
6 Steps for creating an invoice;


Meet Arch Media, a thriving influencer marketing agency based in Croatia. By using Remotify, Arch Media simplifies paying freelancers in bulk, managing multiple invoices with ease while ensuring compliance with local and international tax regulations.
Read more
| Features | Direct Payment | Remotify |
|---|---|---|
| Invoicing | Multiple invoices from freelancers | 1 VAT‑compliant invoice |
| Compliance | You handle tax & compliance | We act as reseller & handle compliance |
| Payment Options | Limited currency options | 100+ currencies & credit card |

4.7
 34 Reviews


Seamless Transactions without any issues. Would recommend to anyone in need.

I have used this platform, it gives a lot good experience than a lot of payment providers. I was struggling to get an invoice from abroad, and it didn't deduct a single penny on my first transaction. This is a very good platform

I've been using Remotify to work as a freelance photographer/filmmaker and it has been the best way to handle payments I've experienced. Platform is really easy to use, everything is clear and runs smoothly. My favorite part is definitely customer support, they respond fast, and find solutions to whatever you ask in a very short time, they're kind and understanding, and very helpful very fast. 100% Recommended


Remotify is a platform designed to help businesses manage and pay their freelancers in a legally compliant way. With Remotify, you can manage projects and make payments all in one place.
When you use Remotify, we act as an intermediary between your company and your contractors. We work as an agency to resell your contractors/freelancers’ digital services. Parties involved in invoicing will be your company and Remotify.co.
Remotify fees start from 2.5% of the total amount from the billing party. The commission rate varies based on the transaction volume. For more details, please refer to the pricing page.
Yes, those who earn income must declare their income in the country where they reside. We will soon be developing tools to make it easier for you to report your taxes.
You can use Remotify for digital services such as web design, software development, digital marketing, and consultancy.
Registering and running a company can be time-consuming and expensive. With Remotify, you can delegate these tasks to us and focus on growing your business.
Research shows that companies who work with freelancers spend time and money on administrative tasks. Remotify can save you time and effort by handling these tasks for you.
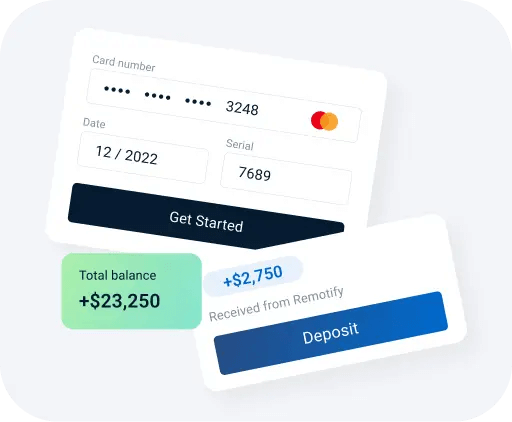
Your customers can pay via PayPal, SWIFT, Wise, SEPA Bank Transfer, Apple Pay, and credit cards (EUR).
You can receive payments from all countries except those on the blacklist.
Your customers can pay in USD, EUR, GBP, and TRY for bank accounts. For credit cards, we can only accept EUR.
You can receive your money in USD, GBP, EUR, and TRY.
Generally, it takes one business day, but this depends on your bank account and currency.
Yes, you can follow your payments from the platform.
We have reminder tools that you can use to send reminders to your customers.
No, they don’t
You can contact us via live chat or email.
No, all fees are included in the commission.