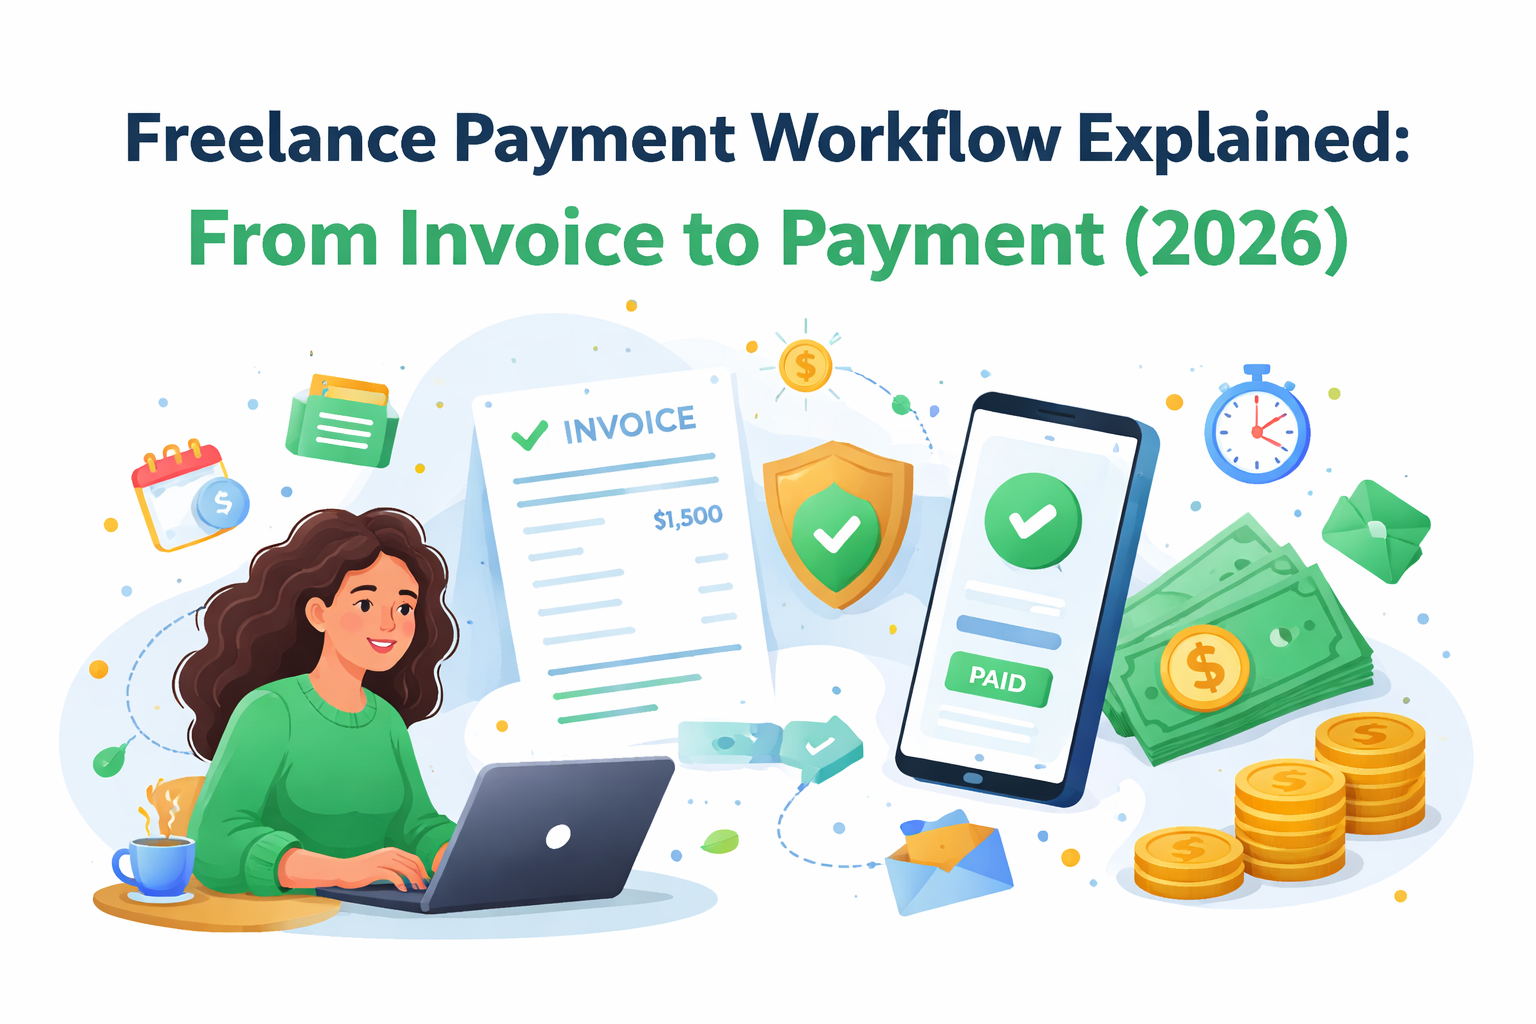
An invoice is a formal payment request and a legal record. Getting it right the first time prevents the back-and-forth that delays payment.
A complete freelance invoice includes the following elements.
Your full name and address. If you’re operating without a registered company, your personal name is your trading name. Some freelancers use a variation, “Alex Rivera Consulting” or “Rivera Creative”, which is fine, but your legal name should appear on the document.
Your client’s full name and address. Address it to the right entity. For corporate clients, this is the company name and registered address, not just your contact person’s name. Invoices addressed to the wrong entity get kicked back by accounts payable teams.
A unique, sequential invoice number. INV-001, INV-002, INV-003. Every invoice you ever send should have a number that hasn’t been used before. This is essential for your records and for your client’s accounting system.
The invoice date and the payment due date. Both, clearly stated. “Net 14” means payment is due 14 days from the invoice date. “Net 30” is 30 days. Whatever your terms are, state them explicitly, don’t assume the client knows what “net” means.
A description of services. Specific, clear, and matching the scope agreed at Stage 1. Reference the project name or the agreement date if helpful. The description should make sense to anyone who reads it, not just your primary contact.
The amount, in the agreed currency. State the currency explicitly, USD, EUR, GBP. Break down line items if applicable. Show totals clearly.
Your payment details. Exactly how the client should pay you. If you’re using an invoicing platform, include the payment link. If you’re accepting bank transfers, include all necessary banking details. If you accept multiple methods, list them in order of preference. Make it impossible to not know how to pay you.
Any applicable tax information. This varies by country and registration status. In some jurisdictions you’ll include a tax ID, in others a note about tax exemption or withholding applies. If you’re unsure what applies to your situation, check with a local accountant.
One practical note for international freelancers: platforms like Remotify at remotify.co/invoicing generate properly structured invoices that include all these fields by default. The invoice is formatted for international clients, stored in your account with sequential numbering, and connected to a payment mechanism, removing several common failure points at once.